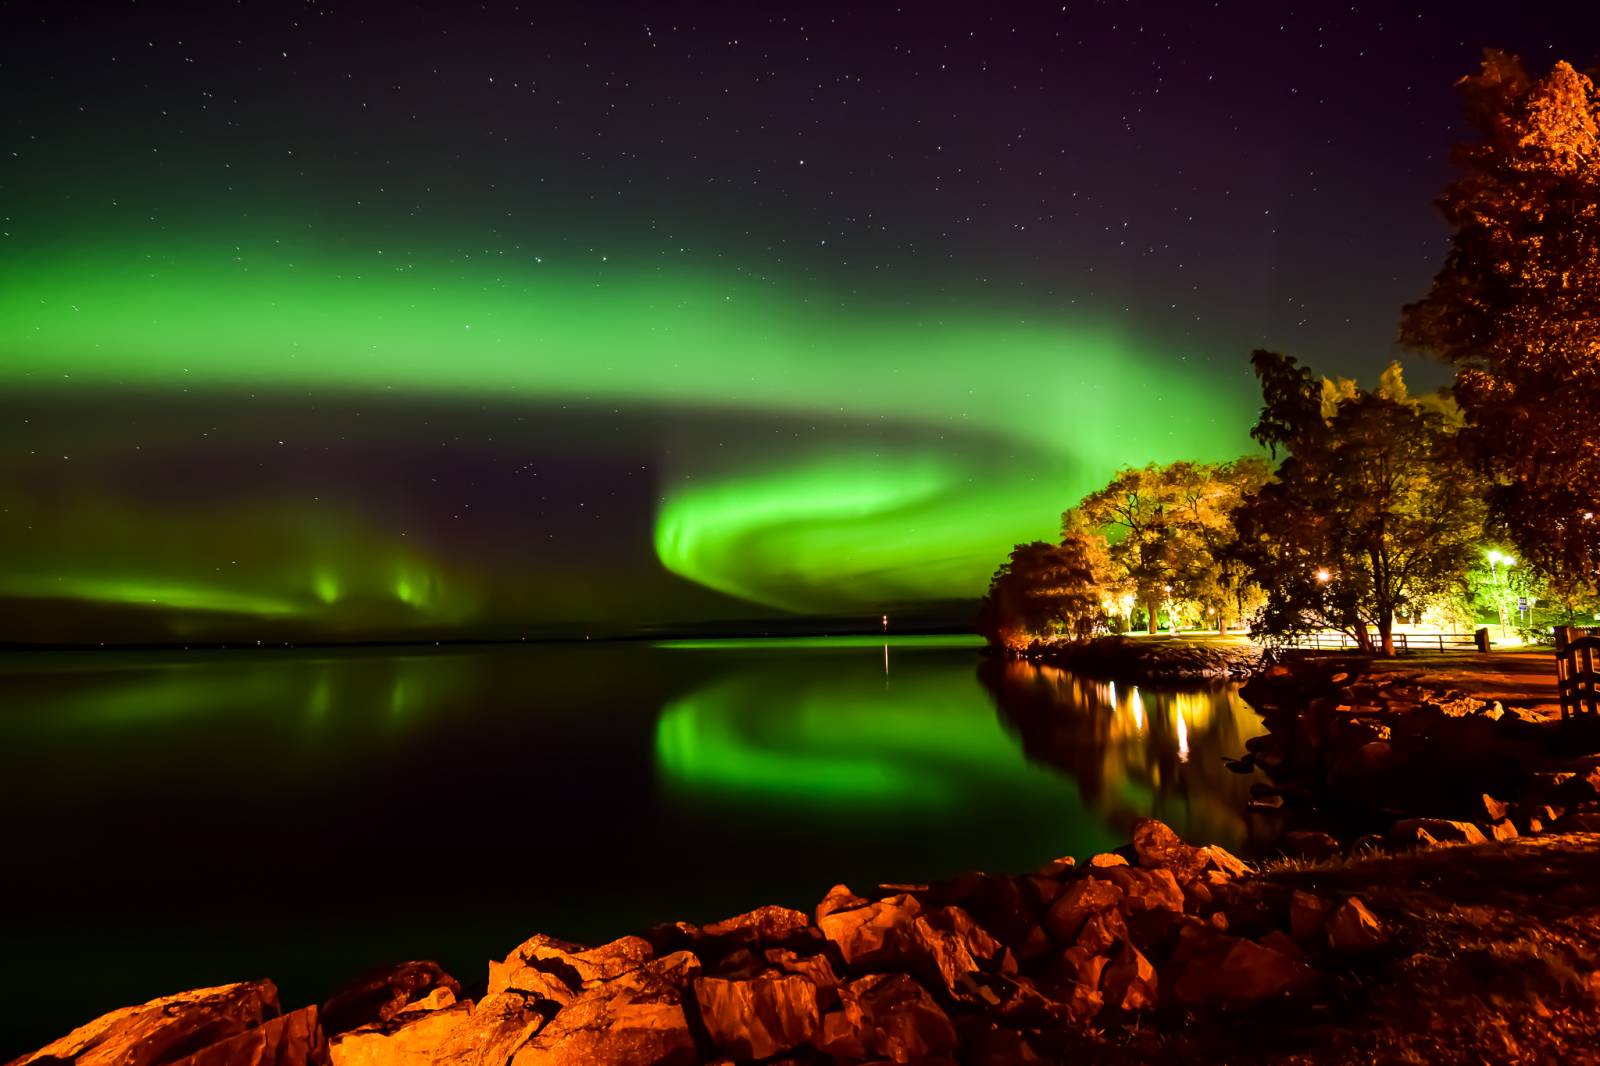
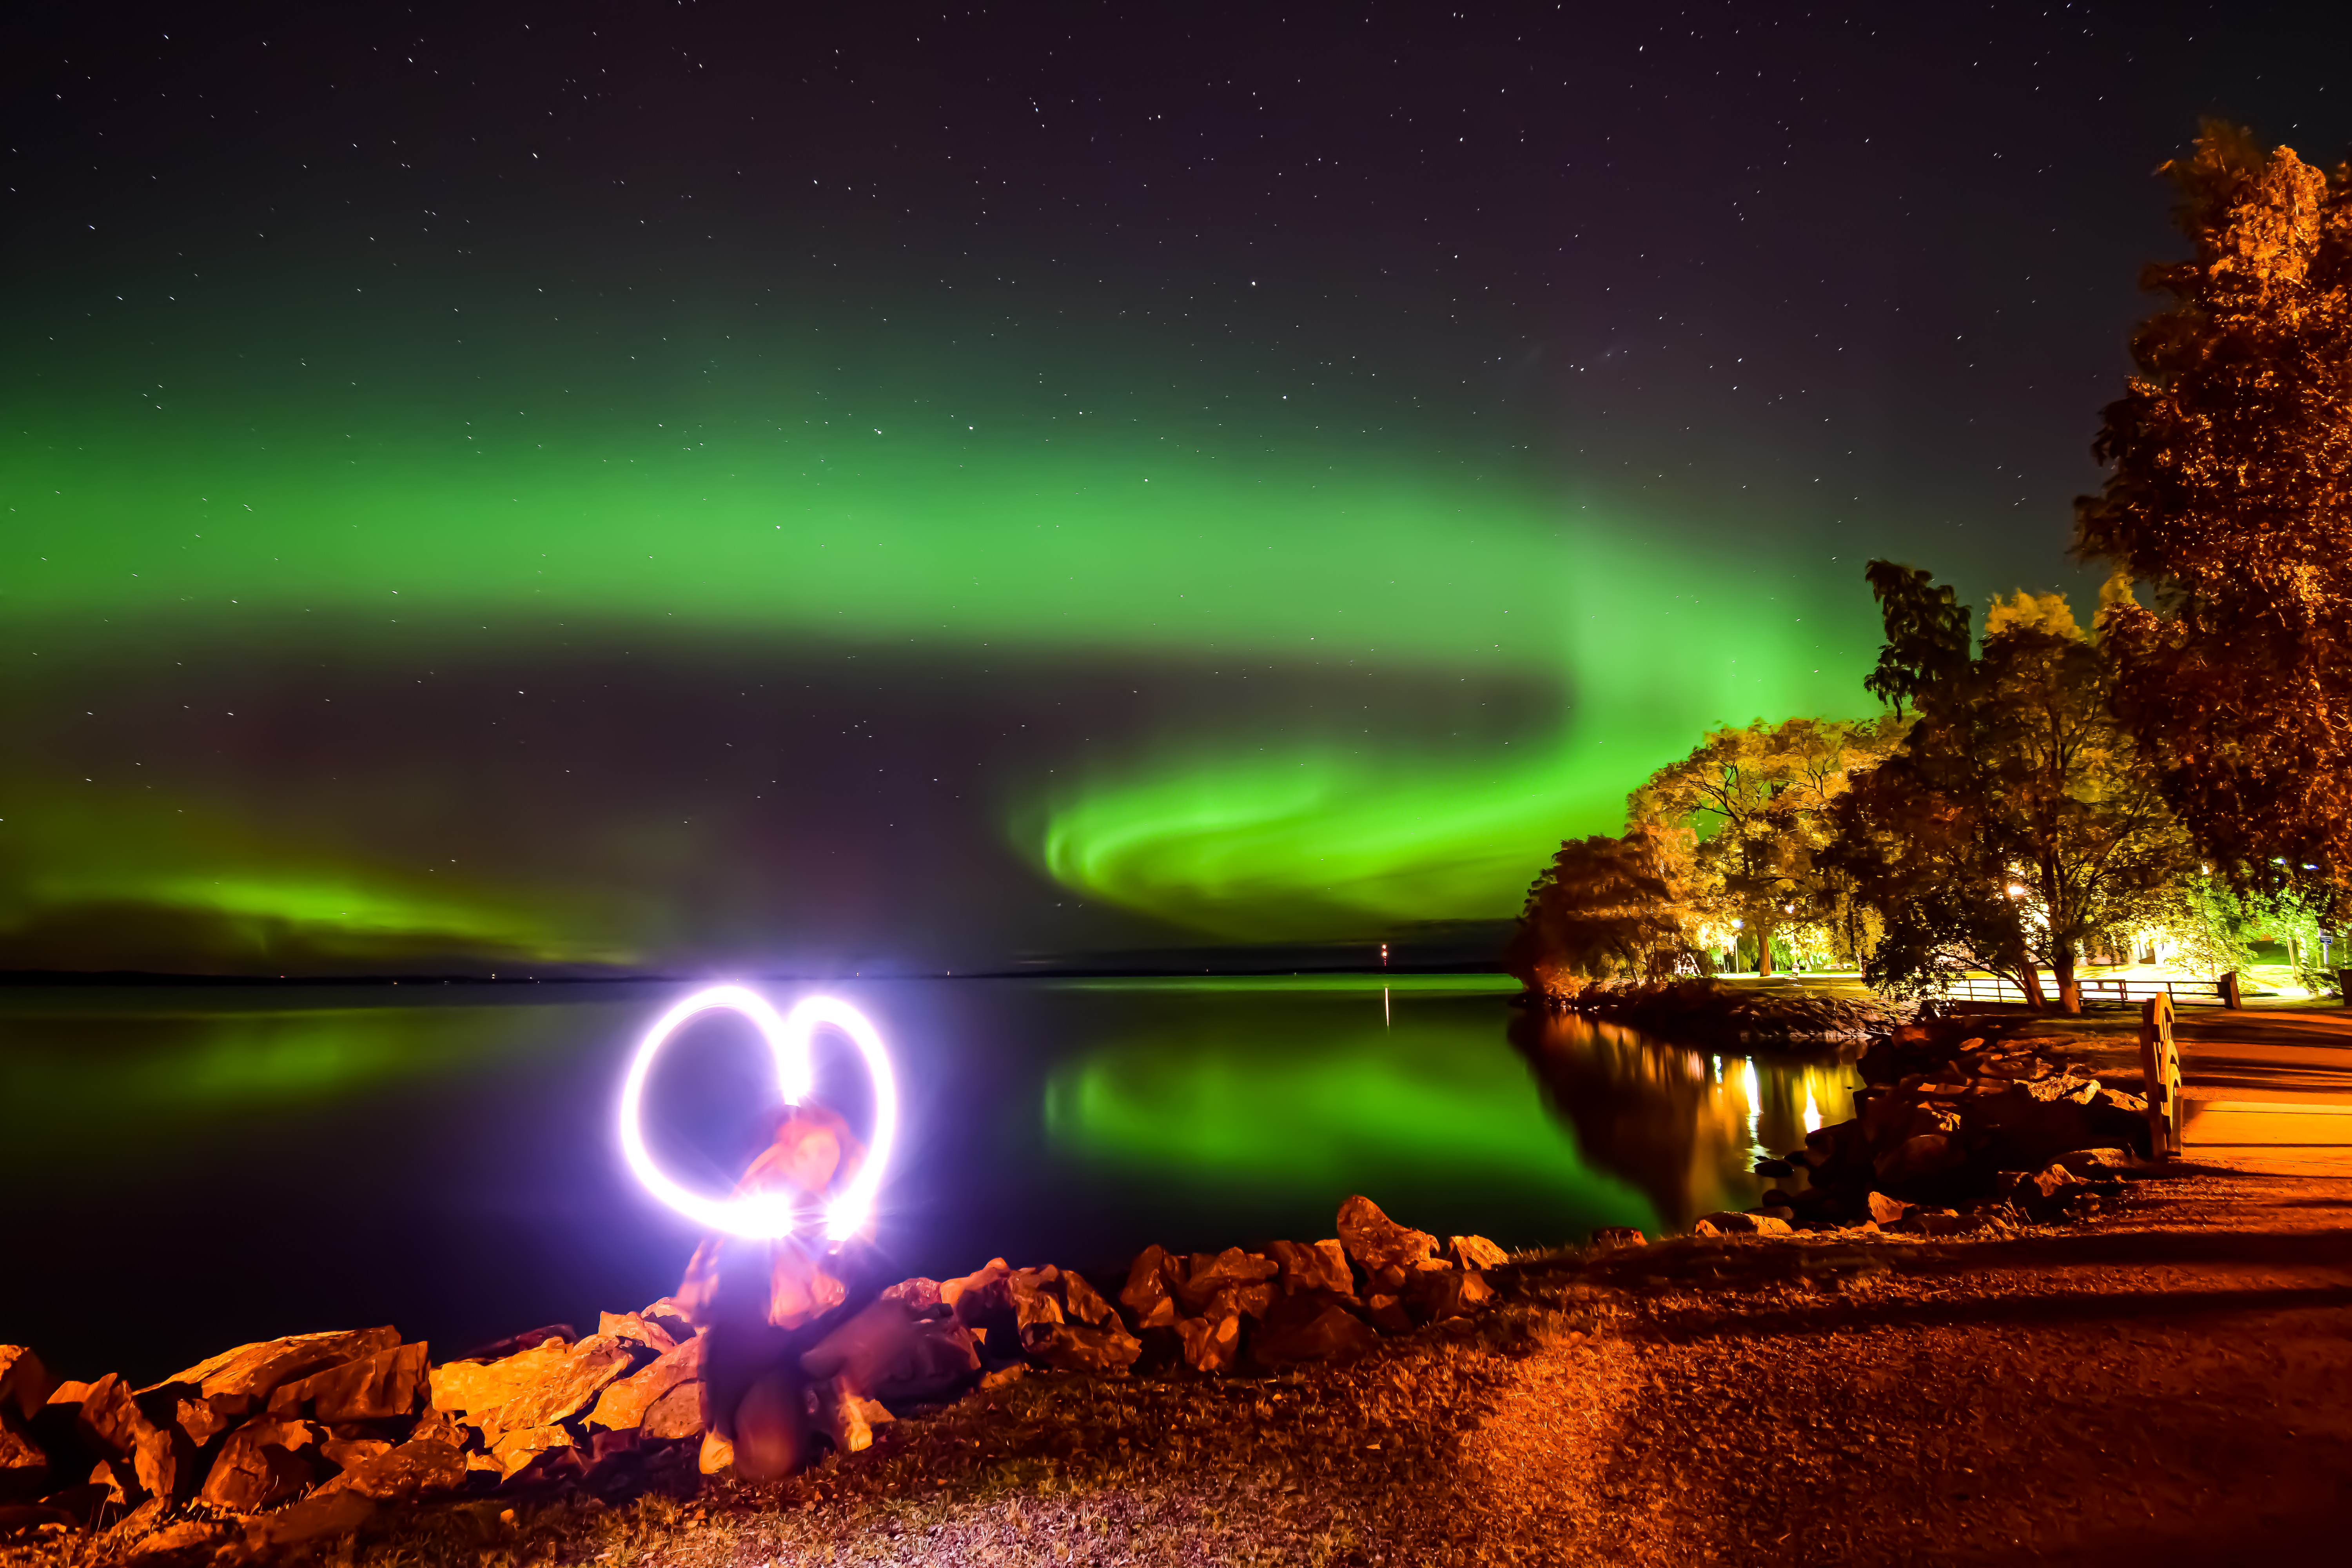
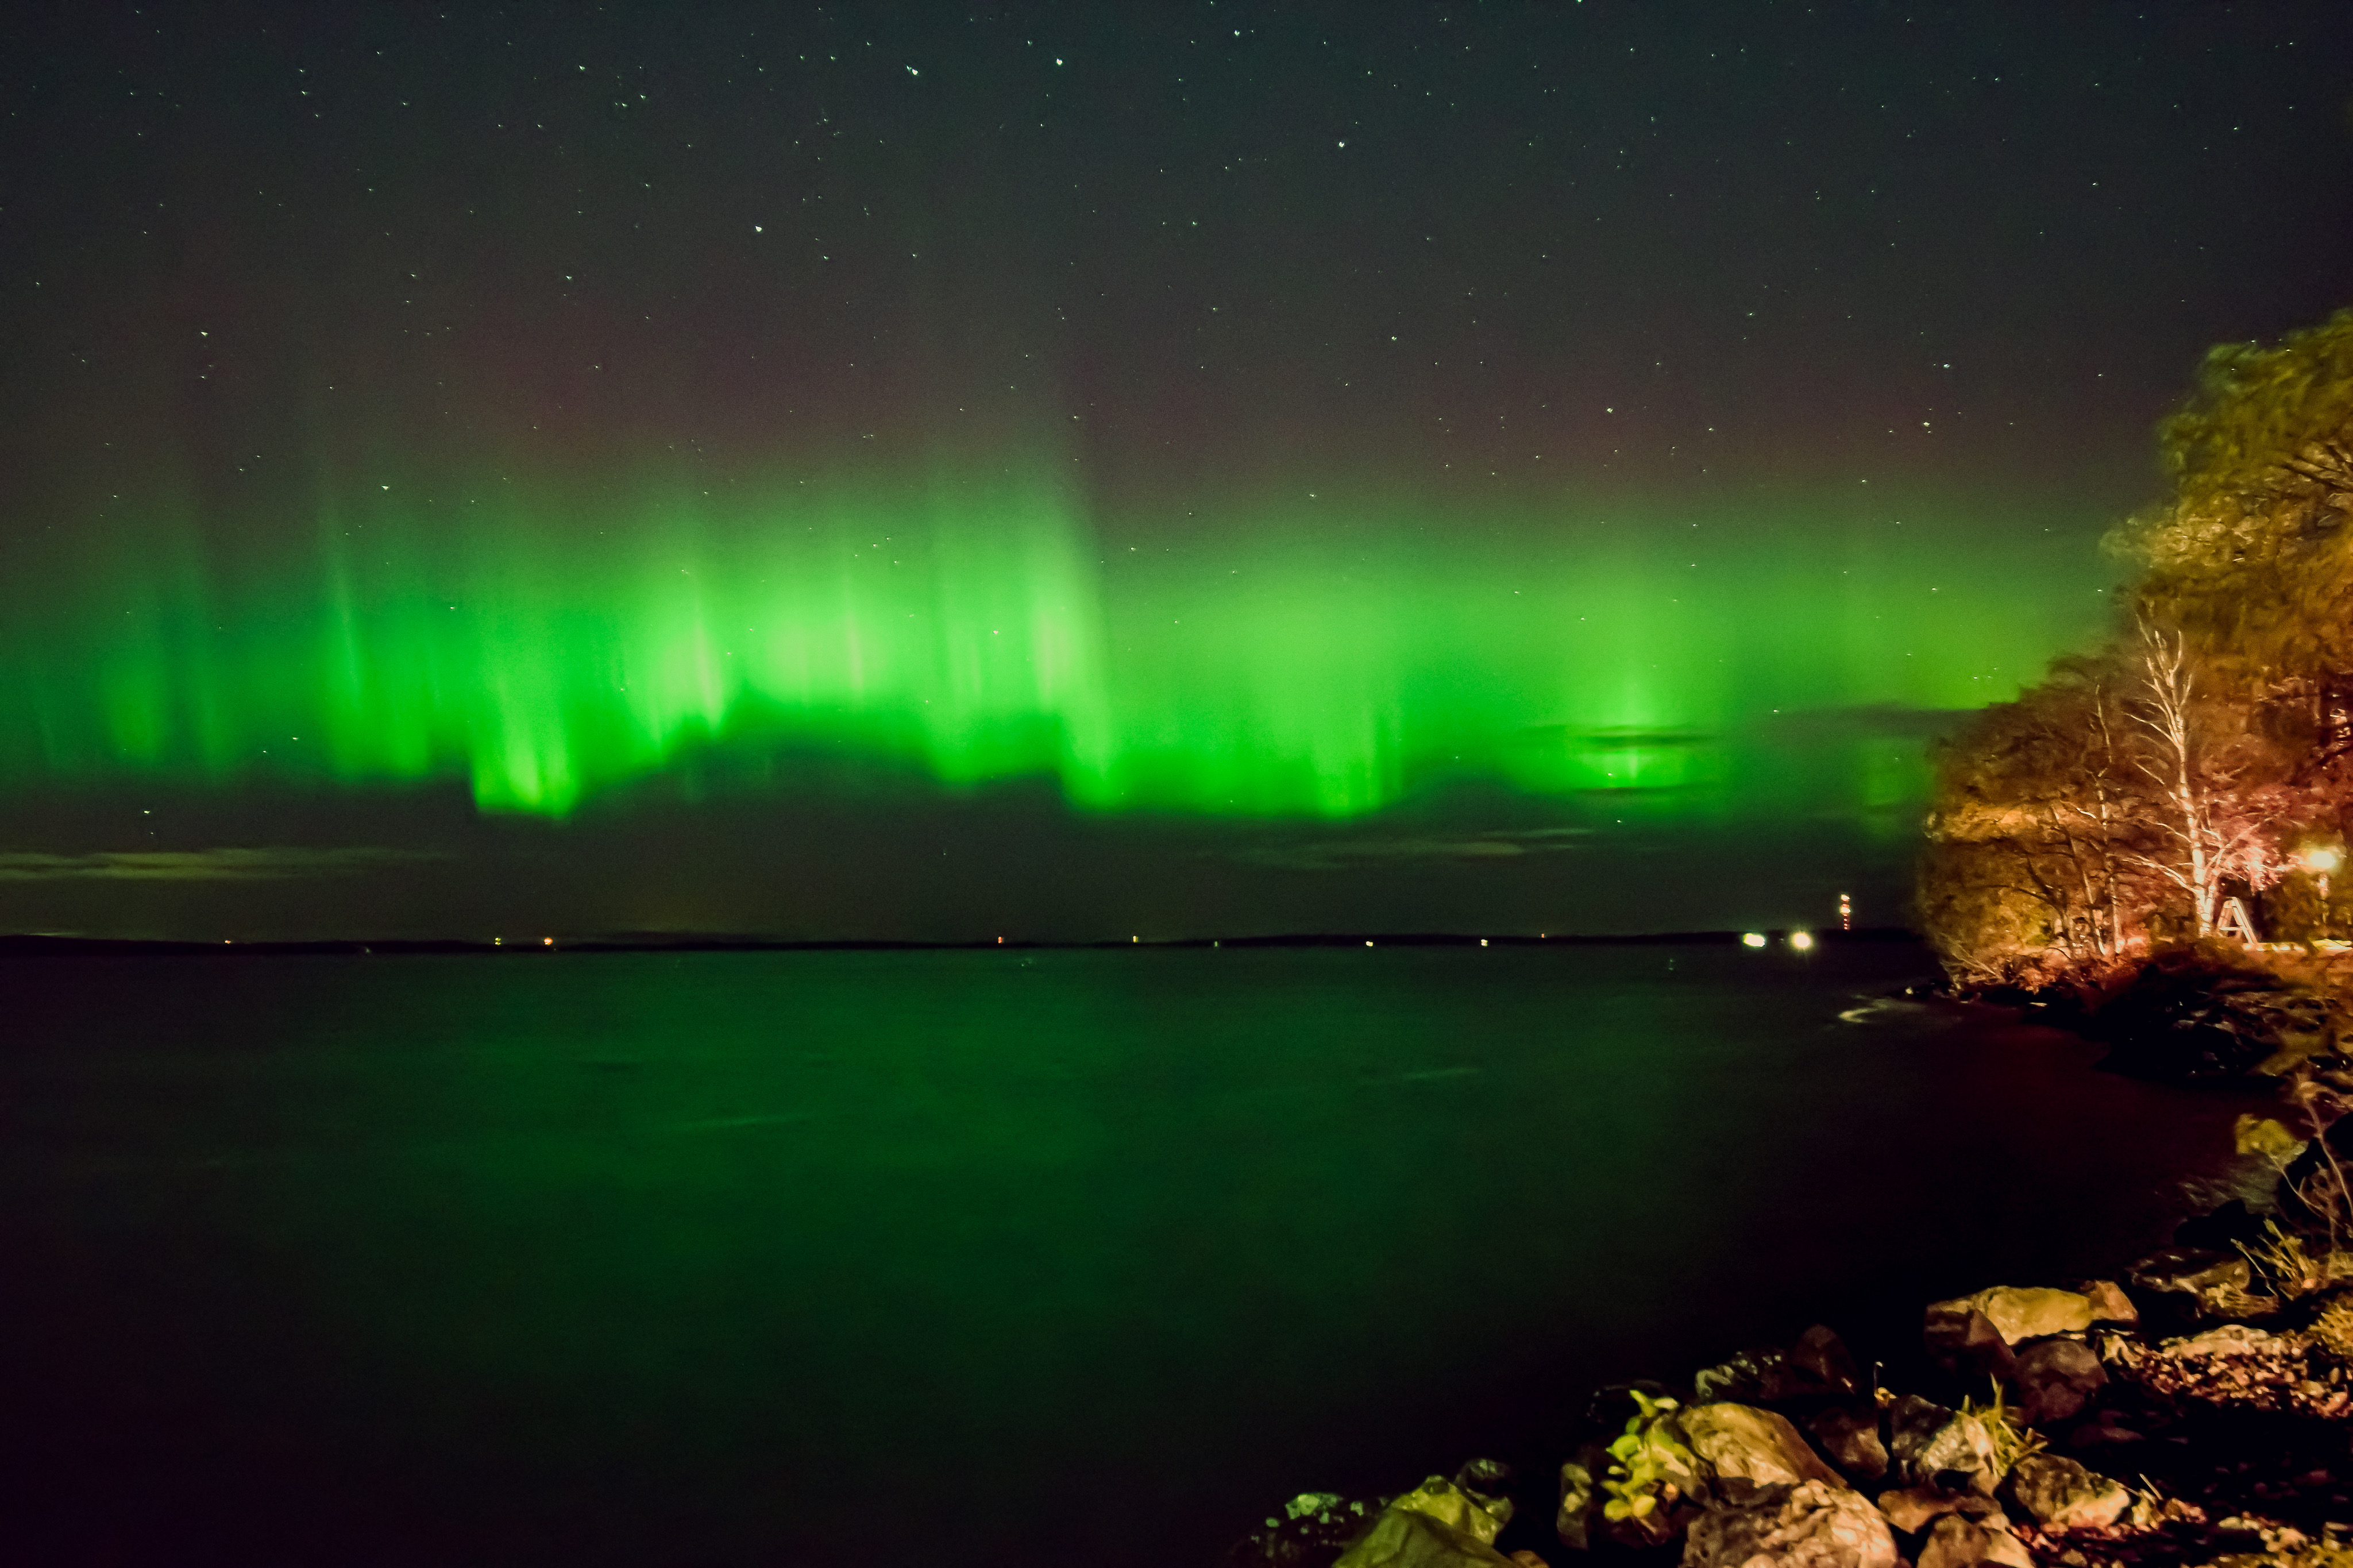
Northern lights, also called aurora borealis (northern hemisphere) and aurora australis (southern hemisphere) are a natural display of light caused by charged solar particles entering the atmosphere however, the dynamics of the phenomenon under research by the scientific community to this day.
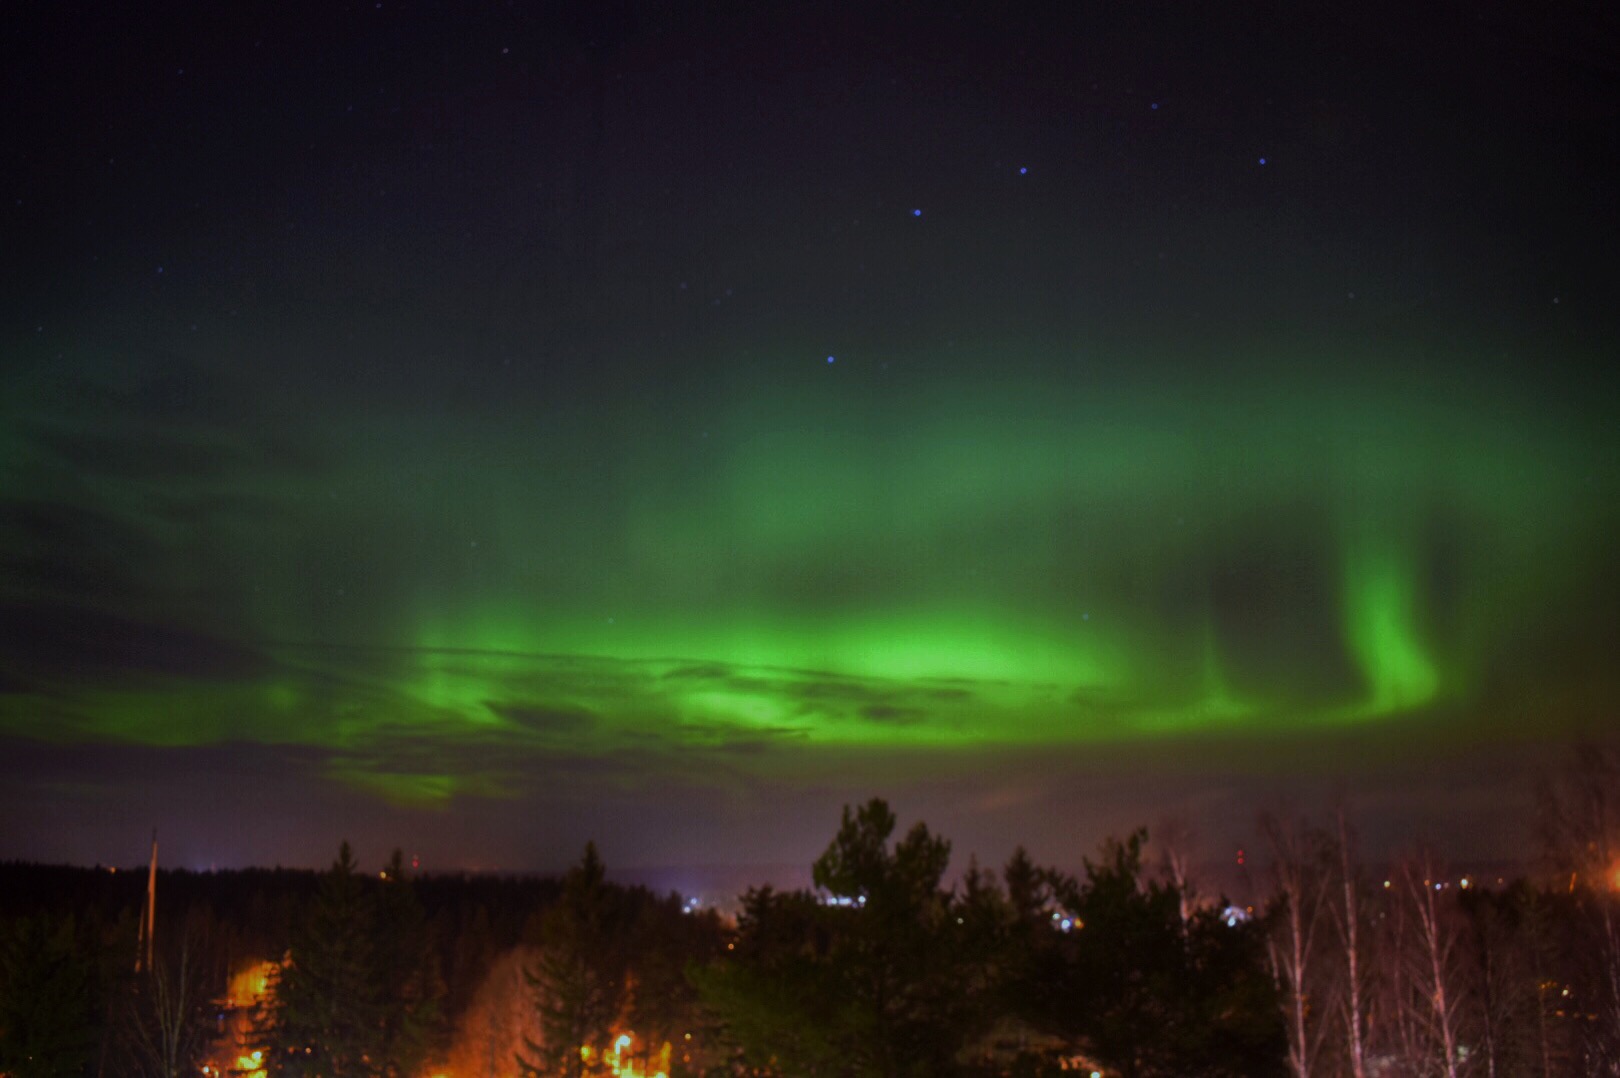
As I am not a scientist but a passionate amateur photographer, I will focus on helping you to spot them and get the best pictures! For me, hunting northern lights is very relaxing, it can even be a moment of retreat with myself where I connect with nature. You can even challenge yourself while taking picture and try new things, check my pictures!
When to expect them?
Northern lights appear all around the year. However, Mrs Aurora can only be spotted when the sky is completely dark. Thus, the best period for aurora hunt is usually from September to March. In practice, especially in Tampere and southern regions, it is more frequent to spot them during September and then March because of the weather forecast.
Indeed, the sky needs to be clear to be able to spot anything, clouds might obstruct your visibility and so does fog. However, the official season is from 21st of September to 21st of March, from 4pm to 6 am.
Where to go in Tampere?
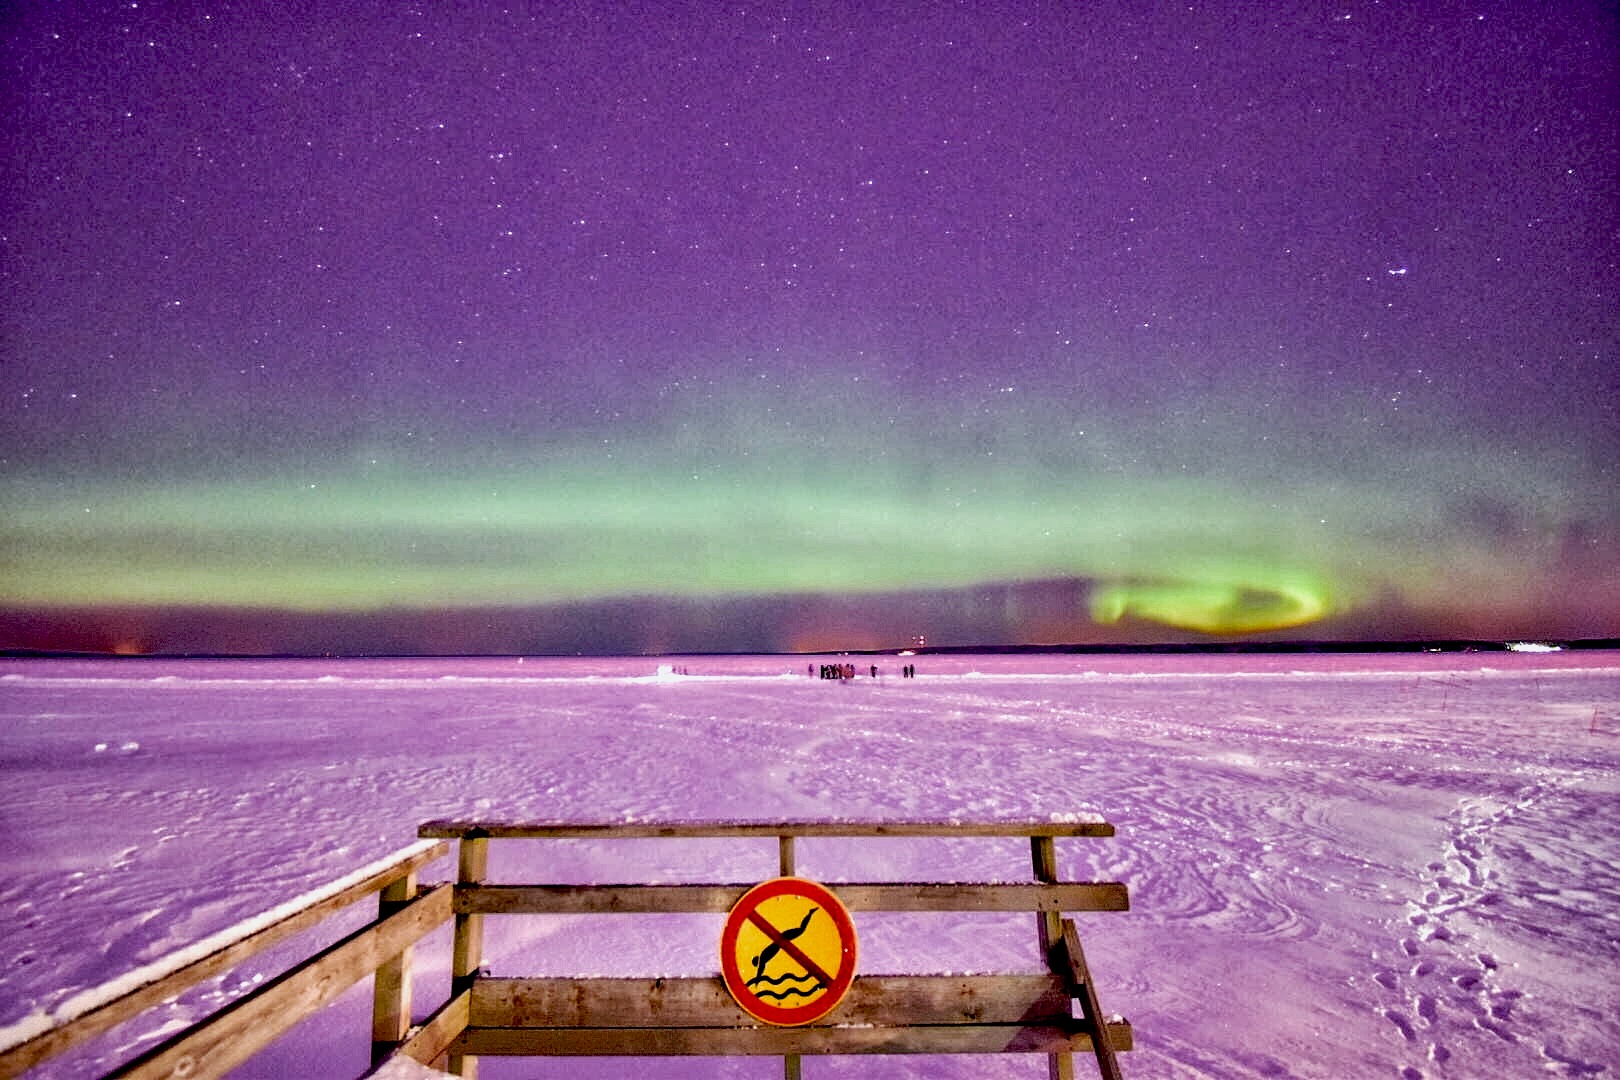
I recommend the Rauhaniemi area, around the public sauna. Indeed, despite the surrounding lights, if the conditions are optimal you will be able to admire them dancing in the horizon. You might want to have a walk around the lake Näsijärvi and you might be able to find your secret spot, away from city lights, facing north (get your compass!). During wintertime, if the weather conditions are optimal, you might want to walk on the frozen lake and meet some night skiers during your hunt!
How to set your equipment?
If you have a camera:
- Charge your batteries full and take some spare ones because the cold kills them easily.
- Take an empty sim card, you can easily end up with 300 pictures.
- Take the widest-angle objective with the biggest aperture possible (e.g. F.4.2 > F.8), recommended an F2.8.
- Take a stand, you need to have stability in order to avoid blurriness.
- Take gloves and warm clothes, you will have to stand in the cold and be patient.
Settings:
- Aperture set to the maximum (N.B. Maximum aperture equal minimum number)
- Shutter time between 6 and 30 seconds depending on the visibility of the lights (N.B that’s why a stand is necessary as up to 30 seconds will happen between the first picture and the last one. Also, if you lower the shutter time – from 30sec to 20sec – less light will be caught so you might want to rise your ISO)
- ISO from 1600 to 4000 (N.B. Raising the ISO is an easy way to catch more light, however, it will bring “noise” to your picture that will then needs to be edited. If you want less noise, choose an ISO closer to 1600).
- Focus, choose manual focus (N.B try to focus on a city light to avoid having a blurry result).
- No flash.
- Additionally, you can play with the white balance, but I will recommend editing it afterward (e.g. lightroom).
If you have your phone, try to find how to change the automatic settings (N.B. most iPhones don’t have these settings, so it is important to check it in advance).
Stay alert
You can check the Aurora App, the previsions are made each month and happen to be quite accurate. In addition to this, Tampereen Ursa has a live observation of the sky in Tampere that can help you noticing clouds or even the first signs of aurora before going out. Finally, some Facebook groups in Finnish can be followed thanks to automatic translation, for instance: Revontulikyttääjät (revontulet = northern lights in Finnish).
– Meredith
